19 November 2005
Alcapulco Dave and Michelle Doty; Pella, Iowa.
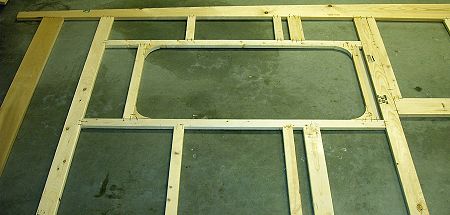
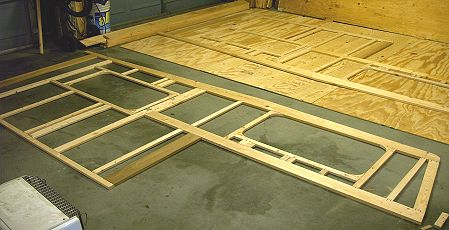
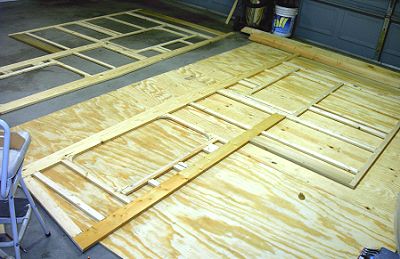
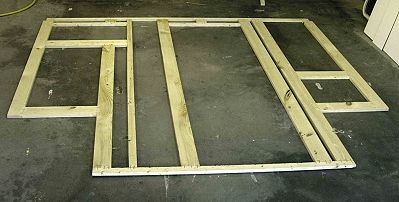
In the last 2 months we have worked on collecting parts and lumber for our project. Many things were purchased on E-bay, including the windows, door, cushions for the seating and pump faucet for the sink. We found a nice surplus store in Elkart, Indiana that we have also purchased many items including the stove top, vent hood, roof vents, and a small fresh water holding tank. We modified the pattern slightly to fit our truck and also to give it a little more modern look. The front has been angled back instead of forward, we have rounded corners on our windows so we custom made some corner blocks for the window cut outs. On Nov. 14th the first piece of wood was cut! The next night, much to Dave's surprise, I cut all the pieces for the 2 side members. Nov. 19th we were able to assemble the sides! We used glue and 1 x 5/8" staples for each joint. It worked great! Having a great time building it and it's wonderful to spend quality time together! Looking forward to a nice winter project!
11 December 2005
Finally able to work on our camper again! We were able to construct the floor and wings in the basement but the garage was too cold to work in. Iowa has been going through a late fall deep freeze and lots of snow! Our garage is not connected to the house nor is it heated so we had to wait until we had a few nicer days! Our fear was that the glue and liquid nails would not adhere or set right while constructing in the cold. So, after several weeks of no progress, today our camper has the front wall and side walls attached to the box! It is so exciting to see it come along! In the pictures we are attaching you will see some temporary bracing Dave used to help keep the box square and level. Our word of advice is measure twice, cut once. We can't stress this enough for accuracy! Next will be the back wall. Not sure when we will be able to work on it next with Christmas coming up and another cold snap headed our way. We'll update as soon as we work more!
Merry Christmas everyone!
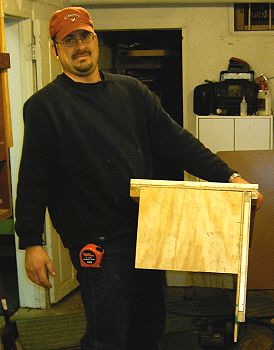
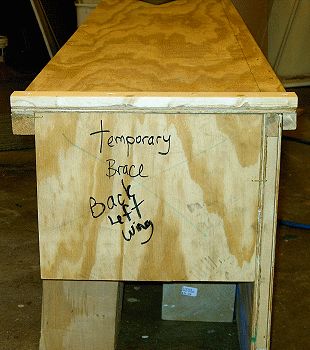
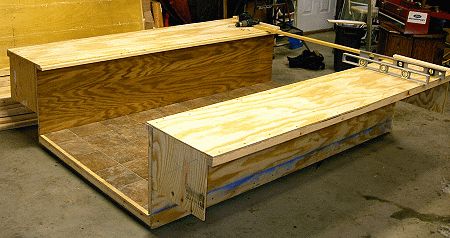
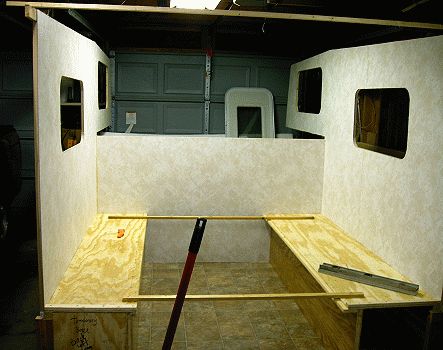
Jan. 7th, 2006: The weather has been very mild this week with the high today reaching close to 50 degrees with full sunshine after many days of only clouds! It was a great day to get some assembling and gluing done. We opened the garage door which faces north and got to work. The last couple of nights have been spent measuring and cutting parts for the cabover bed to prepare for today's assembly. Dave made the gussets, supports and end pieces. Today we assembled and attached the cabover bed frame with Liquid Nails, screws and 1" long staples. We attached the 3/8" plywood in the same manner. It was great to see it get this far! The next step was the back wall. After a few mis-measurements and big laughs, (it was nice to have a few extra pieces of wood to replace our mistakes) we were able to get it cut, glued and assembled. We have a 21" wide door (rough opening) purchased through e-bay which should work really nice. We are going to use a small single room air conditioner when it is hot so we made an opening for that also in the back wall. Because we shortened the camper to fit our box the bathroom is being eliminated. In it's place (what room is left) we are going to build a storage closet with space for a port-a-potty to slide out from under it. The top of the closet will be a shelf that the A/C can rest on top of. Also in the back wall we are going to have a small storage compartment for a 7 lb. propane tank to be used for the stove top. The wall fit nicely as well as sealing nicely with the Liquid Nails and screws. Since it will still get down to 30 tonight we covered the camper with 4 ml plastic and set a radiant space heater inside to keep it warm so that the adhesive will set well. We sat inside and enjoyed dreaming about what we are going to do next. We are looking forward to working on the interior next. It should go well as we can do the construction of the cabinets in the basement and then install them as we complete them.
Happy New Year!!
Dave and Michelle
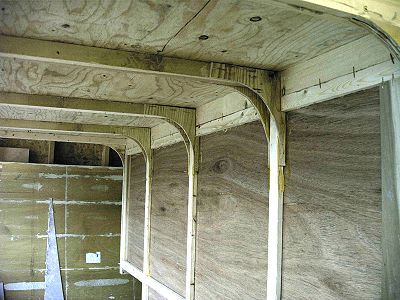
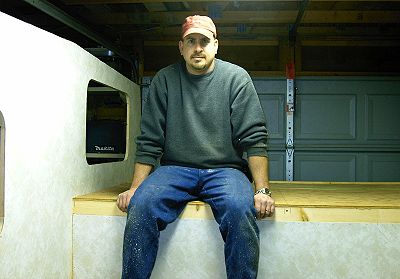
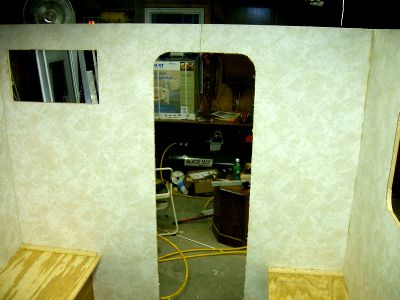
21 May 2006: It's been many months since I submitted info on the camper. When it came time to work on the interior it started really getting cold in the garage. Dave was able to make the counter top and also build the refrigerator cabinet. The front of the lower cupboard was also completed back in January. Then we got a little discouraged so we decided to walk away from the camper for a while. Well, a little while turned into 3 months of no progress. Spring came and we got excited to work on it again. The upper cupboards above the counter and above the dinette are installed. Dave made the table top, we just have to get more laminate to finish it. The bench seats are complete. I actually constructed that! I also made a storage space for the water tank. Dave and I took a few days vacation this past week so that we could drive to Elkhart, Indiana (RV Surplus and Supply) to purchase the aluminum!! We also found some other great bargains there like an inexpensive power converter, dc lighting, striping for the outside, and rubber roofing. They have great prices and a very friendly staff! The last 3 days we have been working on the camper morning till night. It's mostly been finish work on the cupboards and Dave has done some wiring. I cut and installed the outer insulation to prepare for the aluminum skin. today I learned how to construct a drawer box! I made 3 of them in preparation for Dave to make the decorative fronts. I also made the frame, which the drawers will slide on. I was really proud of myself. Women, don't be afraid to use power tools! They are great! Of course a staple from an air stapler hurts going into a finger and kick-back from a table saw does also but it's all a learning experience! We are still hoping to go camping in June sometime but it will require a lot of evenings and weekends to get it completed! I'll update more as soon as I can!
Michelle
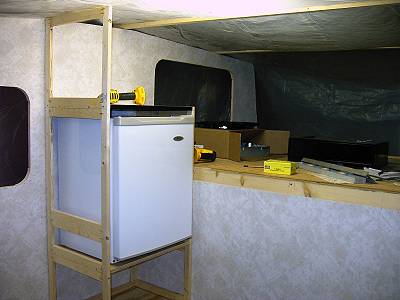
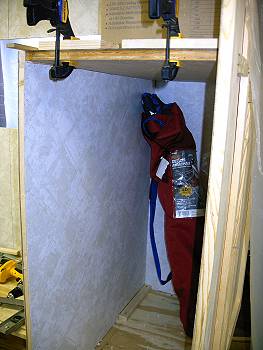
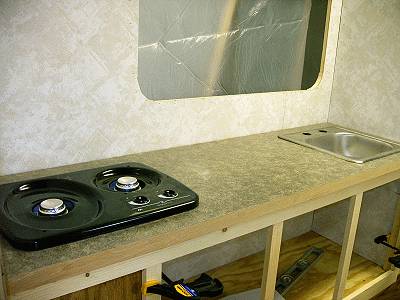
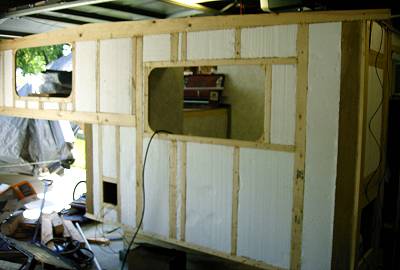
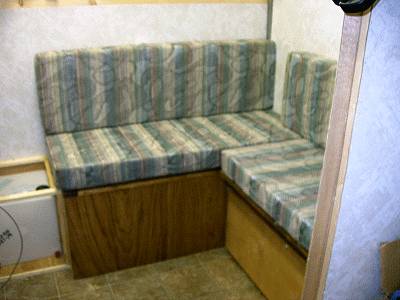
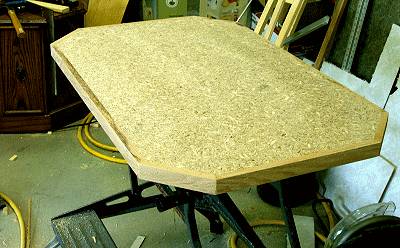
27 June 2006: Hello again! We are excited to let you know that our camper is nearing completion! Since last month we have siding, windows, a door, cupboard doors, interior lighting and some other details. I won't get into detail but the biggest hurdle we had was cutting and installing the siding. Lucky for us Dave has a portable plasma cutter that worked slicker than a whistle!! We are almost finished with all the exterior trim work that can get done in the garage. We were going to try to pull it out of the garage last weekend but it rained both Saturday and Sunday (we needed it so we didn't mind). We can't install the roof until we pull it out, but hopefully next weekend. The table has been installed. Dave is installing quarter round and corner trim, that's been covered with tape to match the paneling, to finish out interior walls. I've purchased the cellular shades for the windows, fabric for the cornices and a duvet' to cover an old comforter to match the colors in the camper. So without more explaining, I'll attach some pictures and get back out the garage to help Dave. The next time I update you it should be with the lift system and the camper ON THE TRUCK!!!! Maybe I'll be able to take a picture of it at the lake!
Michelle
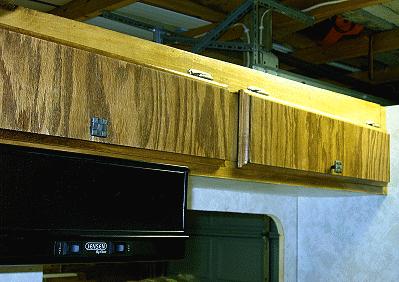
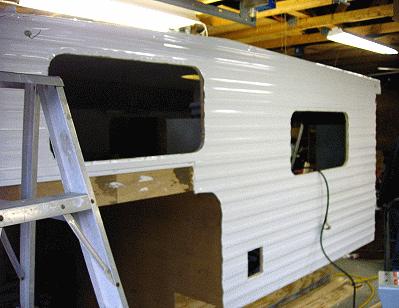
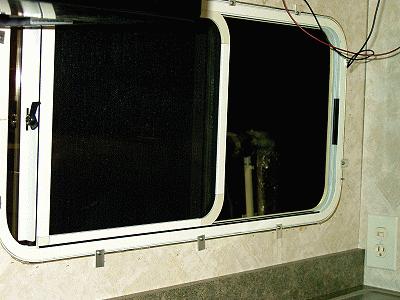
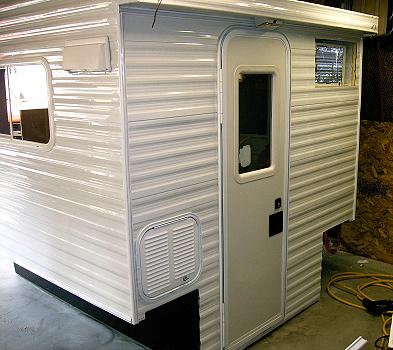
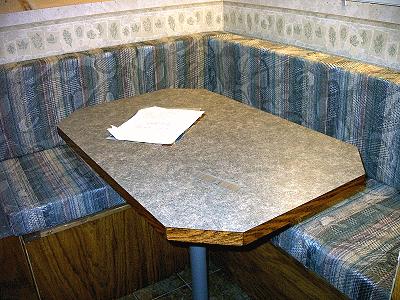
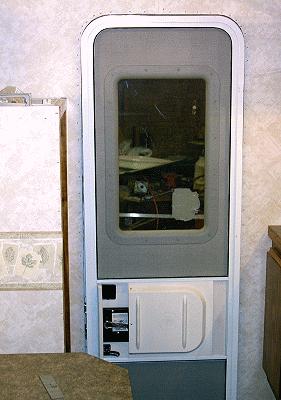
13 July 2006: Hello! We are so happy to tell you our camper is complete!! The few things that aren't finished aren't seen and aren't even necessary items! Wow, what an exciting time for us! This last month has been nothing but late nights, long weekends, and anticipation!
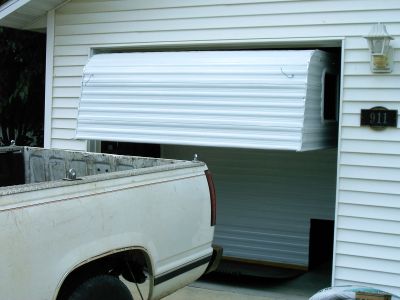
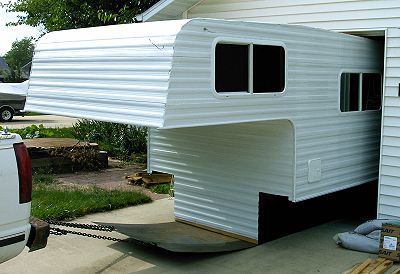
We pulled the camper out of the garage on June 30th in the evening. That was an adventure in itself as it was almost too tall to get out. But it made it without having to tear down the garage!! Ha, ha!! Dave is such a smart man as he thought to bring home his work truck, a 1/2" thick plate of steel and some fine steel shot. He jacked up the camper enough with a couple of floor jacks to pull out the 2 x 4's that were keeping it level in the garage, spread some shot on the garage floor, slid the steel plate 1/2 way under the box of the camper, dropped the camper onto it, and used heavy chain to drag it out! I was a little nervous while this was all going on but I kept snapping pictures!
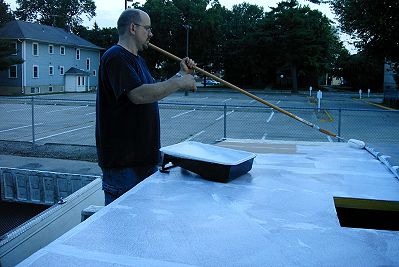
Once it was out we raced to get the rubber roof applied to the top. We're glad we did that in the evening because the next day it was hotter than you know where!! July 1st was the race to get the finish work done on the outside. Gutter, termination trim, and corner pieces were installed and the rubber roofing was complete.
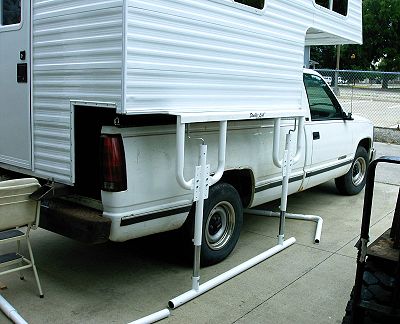
Next came the lift system, Stablelift! And by stable, they mean stable! We would highly recommend investing in this system even if you already have a truck camper! It is awesome! You can check out their web site,
http://www.stablelift.com/index.php
Please let them know if you buy one that we are the ones who recommended them! Sunday was another unbearably hot day but we kept plugging away on the lift system. 4th of July we worked most of the day on different things.
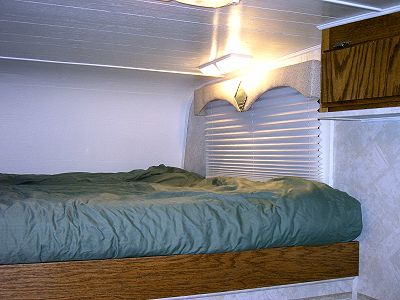
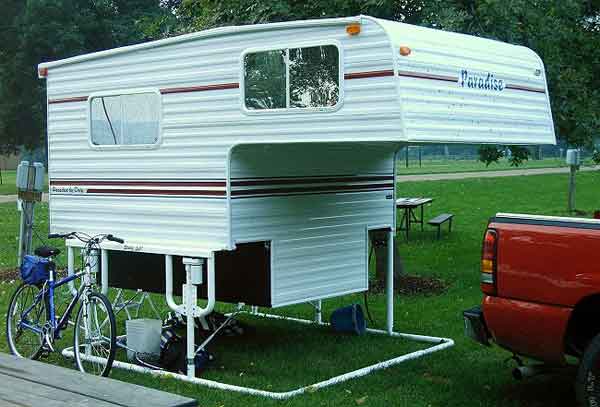
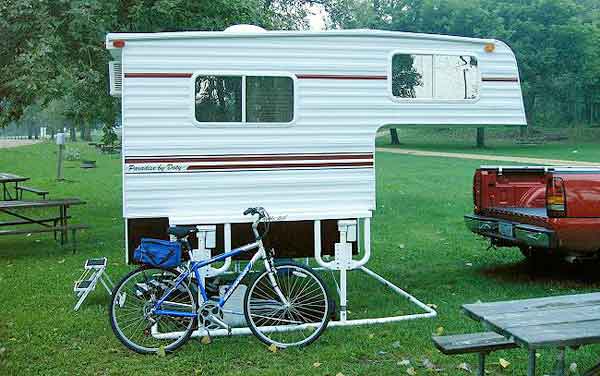
We applied striping to the outside that we purchased at RV Surplus in Indiana for only $5 for a 150' roll!! Dave and I decided to name our camper "Paradise", since that's how we see our time together, so we ordered custom lettering from Overton's (a boating supply catalog). While we were at our local amusement park last Saturday we found a little shop that had airbrushed license plates. We had them customize one for us to put on the camper. Today we took turns having the camper at our places of employment to show off our handywork since our co-workers have been hearing all about it for months! Everyone was quite impressed and kept remarking how it didn't look like a homemade camper. We are looking forward to our first camping trip and are very proud of our craftsmanship! Thank you very much for your fine plans and encouragement! If anyone is thinking of building a truck camper and you have any ounce of tool knowledge, GO FOR IT!!!

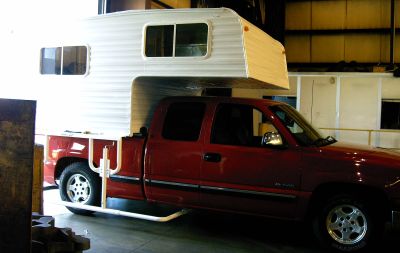
20 July 2007
Hi!
Just thought I would send an updated e-mail address! We've moved to the Dubuque area and had to change everything. We haven't had time to go camping yet this year but the camper still is holding up very well! I never did send a picture of the camper at the camp site from last year so here it is! Hope everyone is enjoying the summer!
Michelle Doty
