 - in retrospect - and other loose items")
Building a boat (Zip) - in retrospect - and other loose items
Posted by Whistler on Aug 25th 2011
The following piece of reading was originally posted in the "small outboards" section in the forum. I've done some editing and some additions during the process of publishing it in this 'blog'. Additions and edits are in italic.
Why are people building their own boats? If you build a no-frills 14-16-18 footer with an outboard to save money, you got to be out of your mind. There's got to be another driving force. You want something unique? Boating and boatbuilding is more conservative than Ronald Reagan, so anything truly unique must really be something, and chances are it won't be a classic looking wooden boat. (When people tell their kids that they are unique, the often omit that the other 6 billion people on earth are equally unique).
Creation is a driving force to count on. Self esteem, acclamation and recognition are other forces that may play a part in the process.
Why did I want to build a boat? I wanted to build a boat (in this case the Zip) to prove that I could do it. I wanted to build a cold mold hull, but wanted to try a smaller project first to see if it was within my capacity. I figured a half done zip would be a cheaper bonfire than a half done barrelback. I wanted to use my creative forces to build something to be remembered by (it is a gift for my youngest son). I knew I couldn't build something truly unique, but I could choose a style and materials that would make it the same as all other zips, but still unique.
Recognition and acclamation is neccessary as man cannot live from bread alone. Every now and then you need a pat on the back, a "well done", and I thank you (fellow boatbuilders) for that, or just going to bed a night beeing able to say: "Today I did great progress, and tomorrow can only be better in light of what I learned today." One other obvious reason is of course a dire interest in boats and boating.
I fell for the Zip's lines, and having seen pictures of a finished zip on a Norwegian forum I use, the descision was made. Plans and "boatbuilding in plywood" dumped into my mailbox. I believe in reading the manual first - cover to cover. This one doesn't have a troubleshooting section at the end, but this forum pretty much covers that.
The first couple of months went by, finding suitable materials and assembling the frames and bending chines and sheers as if there was no tomorrow. I asked a few questions on the forum, shot a couple of mails, was inspired by other builders, and still don't have a clue on how to notch the chine-landing on the forward frame.
Would I have done anything different until the frames and keelson was assembled, part from getting Malahini plans instead? No.
I bought a belt sander and a manual planer for the fairing. Give me a piece of wood and i can find any metal objects in it with my tools was the idea, and the belt sander was the cheapest option. The (Stanley) manual plane was hardly used after I sharpened the blade and realized why carpenters need two years apprenticeships. How is it possible to get that thing back in working order without a lenghty education?
I read about the Rabl method. It took some time until I realized it was a name rather than an acronym. I never realized how to measure and utilize the full use of the method, but eyesight and a couple of handy sized plywood sheets for testing goes a long way.
Planking the boat was fun. Crayons and the balsa planer are great tools for this job. Putty-work and sanding was less fun. Even lesser fun was the part where I realized that the epoxy stains on the outside of my (hull's) butt joint never, ever would take colour from the mahogany stain. That set me back a couple of weeks. One week waiting for mahogany veneer, and one week extra mending voids in the laminate... One thing I really wish I did different was to spend seventyfive dollars on an electric staple gun, instead of twentyfive dollars on a manual one, and a hundred and fifty in cortison shots and doctor's bills.
The benefit of laminating mahogany to the hull are many, appearance for one, true waterline is another as no screw holes or heads will be visible.
The belt sander is a hungry beast, and should be used with care on large areas unless you want to create special stripe effects. Needless to say it was parked in the shelf until much later. I spent one random orbital sander on the hull, and had to get a new one for the deck. I'm still ahead by three sanders compared to buying the "hunky dory" De-Makita-Walt-pro-deluxe everyone say you need. (BTW - How random do you think a random orbital sander really is?)
Glassing was exciting. Mahogany gassing is less exciting, and will definately lead up to some work. Lesson observed and learned. I'll never do the "dry method" on a piece of mahogany again. Another lesson is to choose camera angles and distances carefully when you present your work...
The next time around I'll do the entire hull finish and varnish prior to the flip. I did mount the skeg and prime the bottom for antifouling prior to the flip, and did some reading on the forum and other blogs of the importance of a crisp bottom to transom angle. After checking that particular detail on my 26' cruiser I decided that the crispness of that angle and it's impact on performance is merely academic. 5-10 extra hp will save you hours of effort, if you need the extra knot a knife sharp edge will give you.
Topsides was a blast, and no real problems were encountered. The belt sander was great for fairing the sheers and the excess on the transom. Use a good size plywood to check as you go along. Crossmembers, battens and carlings was measured and mounted. At one stage i realized that the sheet showing the boats innards said scale is 1"=1' instead of the metric dillusion of scale is 1:10. No harm done. The carlings are probably a few percent off the original, but it works for me. I decided not to cover the decking with fiberglass. That deciscion was coupled to the gassing experience on the hullsides, and the fact that even thought the fibreglass turns "invisible" when epoxied, it isn't that invisible on the topside.
Although I said you don't save money by building your own boat I didn't say I wasn't on a budget. Part of this budget is time. Stretching deadlines and milestones is inavoidable, but at one stage or other, all milestones are piled up at the very end. I wouldn't say I cut corners, but I certainly chose simpler solutions towards the end of the build than I could have accomplished. Flooring is made of 3/8" ply epoxied and painted with 2 comp PU paint. The interior hullsides are epoxied and painted white (2c-PU). The monetary budget means there won't be a cut-water or ss transom bands this year. That beeing said, working 40-60 hour weeks I don't have the time to fuss around town looking for craftsmen and welders during normal working hours. The chrome rubrail is, as a matter of fact, a self adhesive autopart sold in 15' lenghts. I have no illusions about the durability, but buying a similar size ss that you need a pro to bend at forty dollars a foot (before welding and shaping), that will last forever is out of my league right now.
Being on this forum has been inspiring and helpful. I've had a few laughs. Wished the day had more hours so I could read and answer in more threads. A little hickup there. Giving a lenghty and honest opinion or answer to someone who has already made up their mind when they ask a question or for an opinion is annoying. Even more so when they don't even bother to imply that they've read your respeonse.
Today I had the great pleasure of running the bilge pump on full effect for three-four minutes as the weather was quite bad last night. The throughull is mounted on the hull side, and the jet was spraying two feet before it hit the water. A fact to ponder for those who wish to put their through hulls in the motor well (even if all the water hits the well, how well will it simmer through a .45 caliber hole thereafter?). I will also epoxy the strainer directly to the bottom instead of as now, screwed onto a piece of plywood elevated from the bottom. As a general suggestion I would find it a lot more useful with 2 pumps below the motorwell instead of one fwd and one aft.
Even more useful would a canvas cover for the cockpits prove. Next time around I'll make a kayak style lip around the cockpits to ease the use of a rainproof cover.
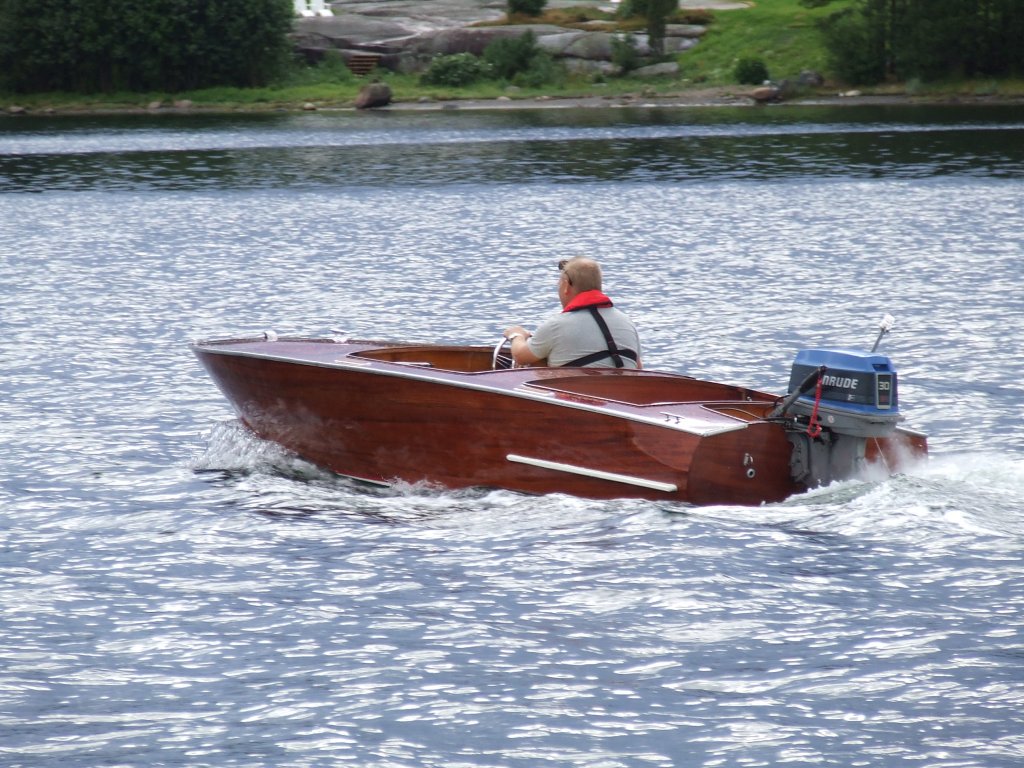
My son got the boat on Sunday. He's very happy and will be legally allowed to drive it alone next summer. Until then I'll finish the windshield, and probably some other stuff.
I've got the plans for the 19-20' Tahoe and will use this blog as the build comes along.